Sculpting Tutorials Cont.
How To Research and Get References

For the main hub page which lists all the sculpting tutorials, click here...
This is the section of the sculpting tutorials which deals with how to make the right preparations in terms of research and references - and then - all importantly, shows exactly how to transfer the information gathered from all those references onto your raw lump of clay.
Of course, your research will differ depending upon your subject, but for more complex figurative sculpts, you need to know your subject inside out.
Researching Your Subject
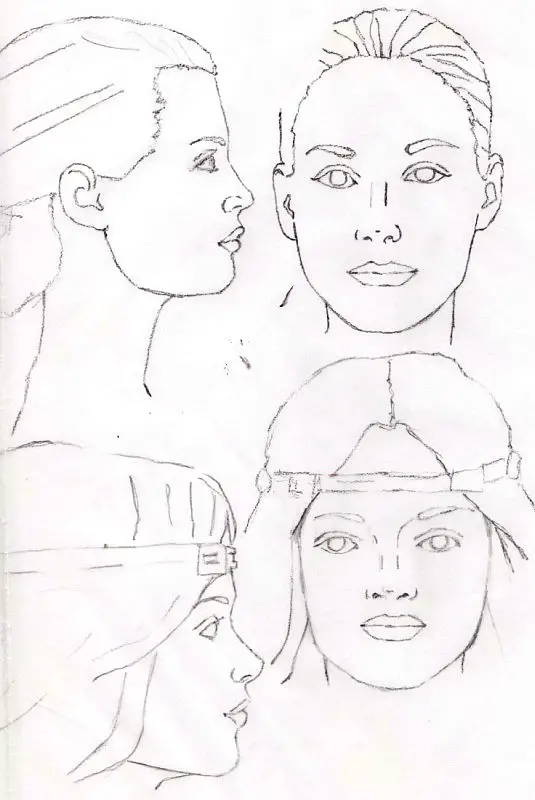
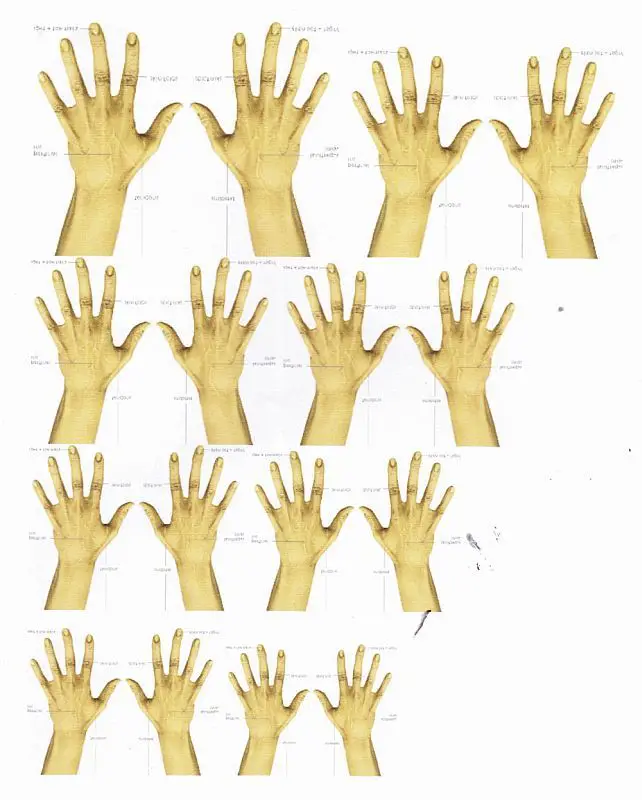
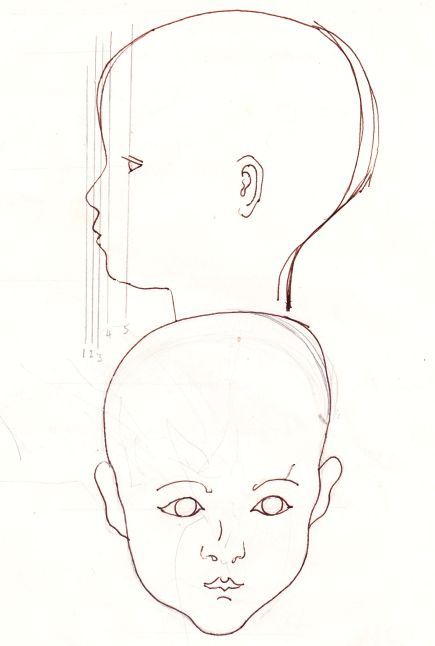
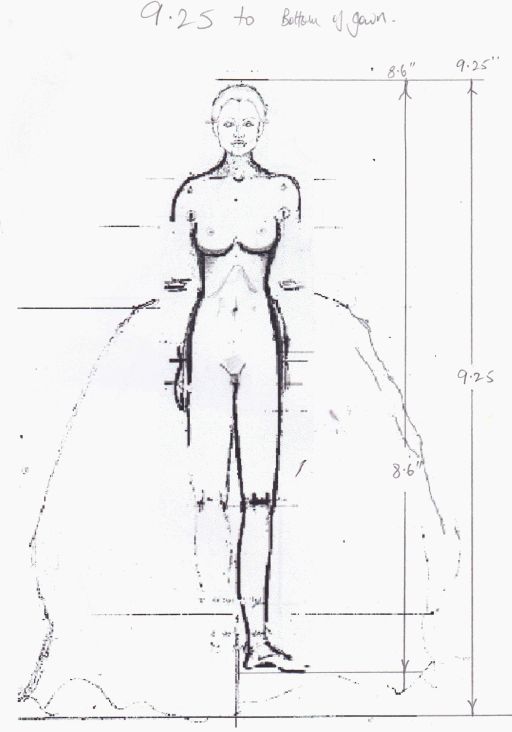
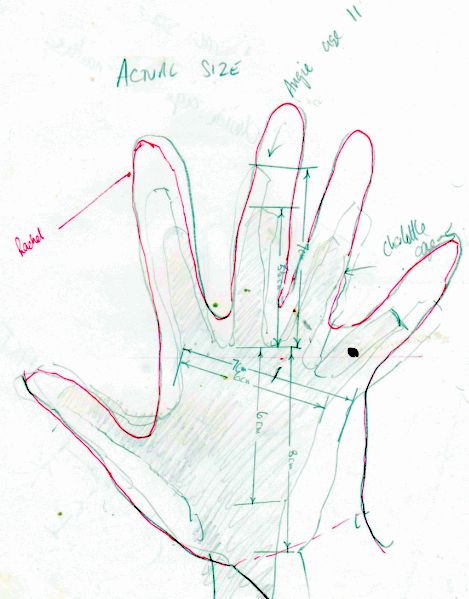
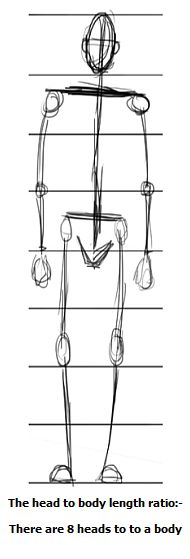
When I was starting out I knew I needed to become a people specialist. So I made notes on the proportions of different people, faces, limbs and hands etc.
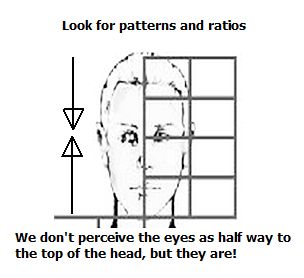
I studied what it was that made beautiful people have attractive faces and discovered the Ancient Greeks had already done this and called it 'The Golden Ratio'. They were recognising and documenting patterns.
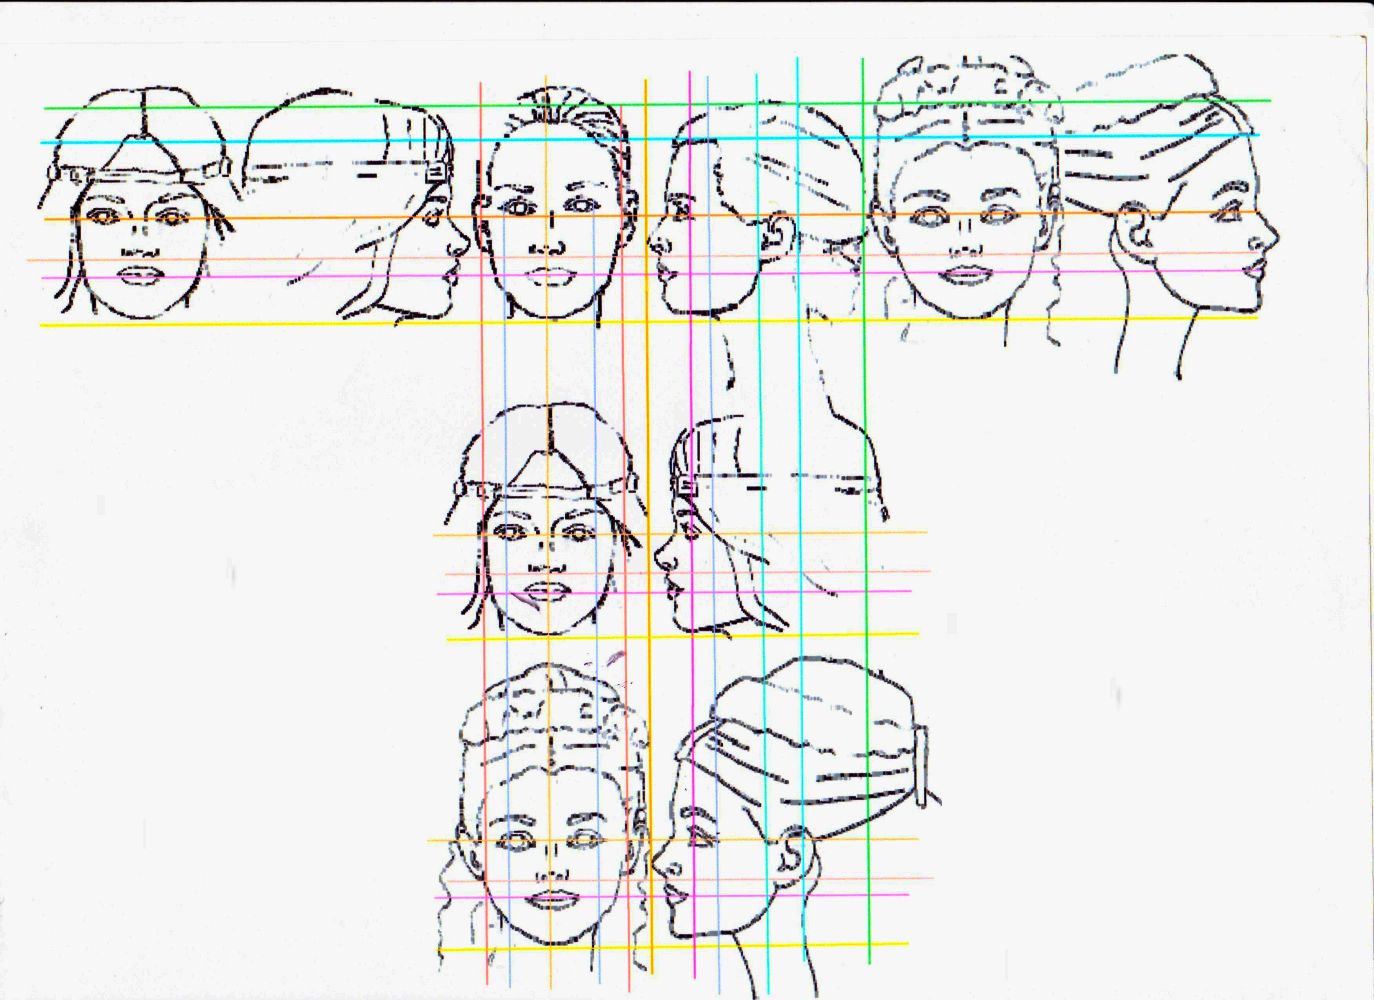
Here are some examples from my notes (click to enlarge).
I superimposed faces of people regarded as good-looking with similar people. I found there were definitely patterns of correlations between underlying proportions.
I gradually made up a notebook of my chosen subject, and this was my 'go to' place for references - especially in terms of patterns, scales and correlations.
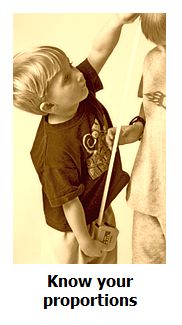
Never be ashamed of measuring. All good artists measure in one way or another.
I remember talking to a collector who was astounded I measured like a
carpenter. This person said "I thought artists just did everything by
eye".
Not me.
I am forever measuring and re-measuring -
never trusting my eye, although I have a good eye. I use rulers, tape
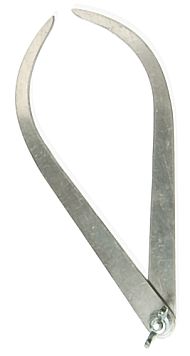
measures, dividers, string, gauges, a photocopier (to scale drawings up
and down) and maths.
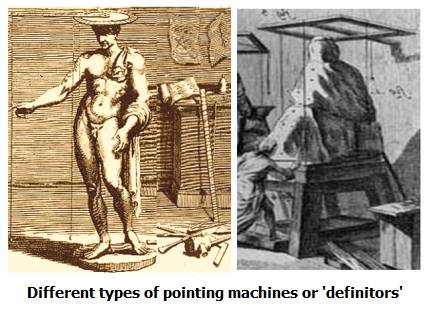
High Renaissance artist Michelangelo used the
'macchinetta di punta', also known as a pointing machine or definitor - as did all the Renaissance sculptors - to measure his marble sculpts.
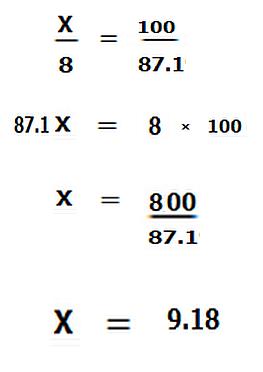
So I would say it is pretty much obligatory to use accurate measurements when doing lifelike figurative sculpting. I use algebraic cross-multiplication to accurately work out the height of a finished fired piece.
So How Important is the Study of Human Anatomy?
Ok, this is a big question...
Some tutors insist you need to have an encyclopaedic knowledge of the skeleton and muscle groups, know their names etc etc.
Although I am a great proponent of doing your grunt work and research, I don't think you have to be over geeky in terms of being a medical expert on what exists under the human skin.
What I do think you need to have is a working knowledge of how what is underneath expresses on the surface.
It's to with feel and observation rather than learning the anatomy dictionary.
You may not know what a muscle is called, but you know what it looks like and what its range of movement is.
You need to a build a working model in your head, rather than eat an encyclopaedia.
I can't do better than to get you to watch a video by Sycra Yasin, an artist and illustrator who explains this concept superbly well. Although this is part of Yasin's drawing tutorials rather than to do with clay modelling, the principles apply exactly to sculpting tutorials.
This is the Part of the Sculpting Tutorials Which Shows How To Translate Your Sketches & Measurements Onto a Lump of Clay
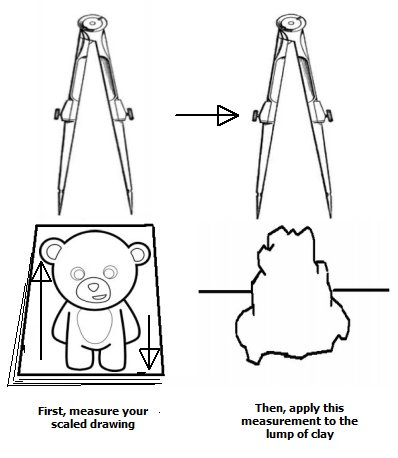
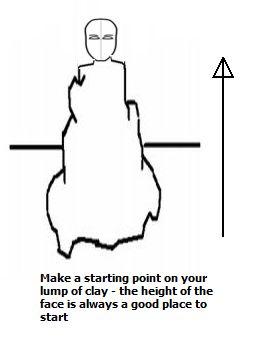
For this task you need simple measuring tools like dividers or sculptor's measure. You need to take the measurement from your research sketches and notes and apply them to a starting point on your clay.
For me, I always calculate where the face is going to be (how high) and build up blobs of clay until it's high enough to support where the face is going to be.
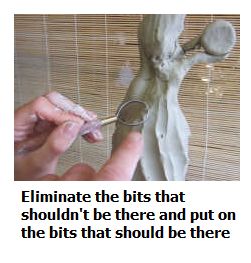
Then, it's just a case of gradually eliminating the bits of clay that shouldn't be there and putting on areas of clay that should be there.
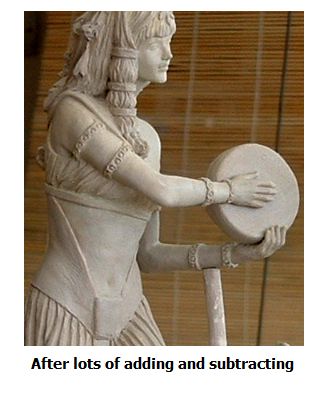
If you carry on this process of very gradual refinement for long enough, with good enough references, you should build up something that begins to look like you want it to.
Another of the sculpting tutorials gives more details on this subject here
Using Algebra in Ceramic Sculpture
If a client says they want a bone china figurine to a fired height of exactly 8 inches, I have no choice but to get involved in mathematics.
I need to know the shrinkage factor of the clay body (Worcester's body was 14%, Coalport's was 12.9%).
So if your finished height is 8 inches, and your shrinkage is 12.9 %, what height does the master sculpture have to be?
Here's the cross-multiplication formula I remember from school and which still helps me every day (I still also use my school measuring dividers, by the way):-
The size of the clay sculpt is 100%
The kiln shrinks it by 12.9%
The fired piece is therefore 87.1% of 100%
We know 87.1% is 8" so we can calculate the size of the sculpt :-
That's the maths. Hope it might help you on your calculations.
Summary
If it is suitable for your subject matter, consider doing research to this type of depth for your own work projects.
However, beware of getting into the comfort zone of replacing research with actually doing the work (easy to do - especially for me). Applying the research ultimately gives more satisfaction in my view.
On this page I have identified a not so obvious, but nonetheless vital, components of being able to sculpt to a high standard.
Research prepares the mind.
Personally, being not a naturally organised person, I can't let myself get out of control, otherwise chaos would reign and nothing would get done.
So, I find it good practice to keep myself under control, leaving little room for unnecessary error.
You must think about this body/mind synergy before doing your best work - and that is the main take out from this particular sculpting tutorial.
Return from Sculpting Tutorials to Clay Sculpting or alternatively back to homepage
